Warning:
No matter what, modding of any sort could lead you to a ban by Nintendo. Preventative measures can be taken, but in the end, you need to understand that you probably will get banned at some point. No Ifs, And, Or Buts about it. Some users buy a second switch just for modding, and some restore a fresh NAND backup that they created and use different microSD cards to prevent getting a ban. If you choose to continue, please know you may get your switched banned.Index:
1. Steps to Modding your Switch with SX Pro & SX Gear2. Navigating Around SX OS
Steps to Modding your Switch with SX Pro & SX Gear
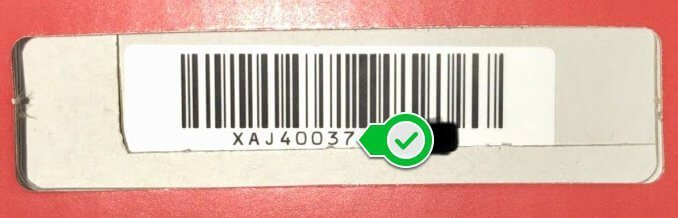
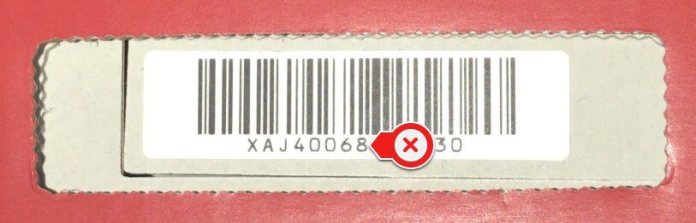
1. Is my Switch Hackable? (Guide: How to know if a Switch is currently 'unhackable' (August 2018))- If YES, please proceed to step 2.
- If NO, please keep checking back for future updates which will appear on the main TX website (Team-Xecuter Site)
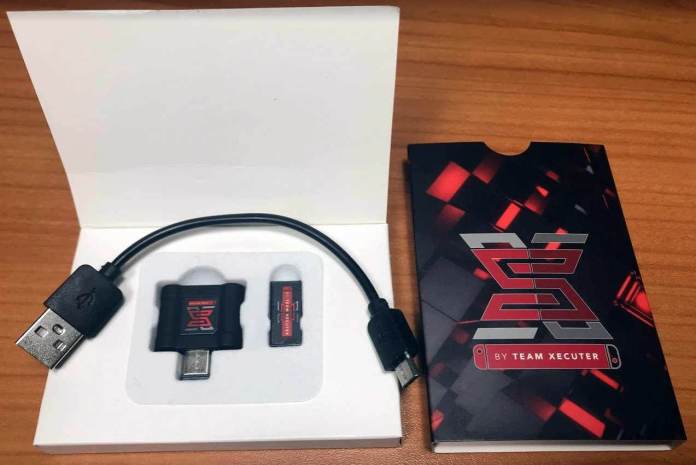
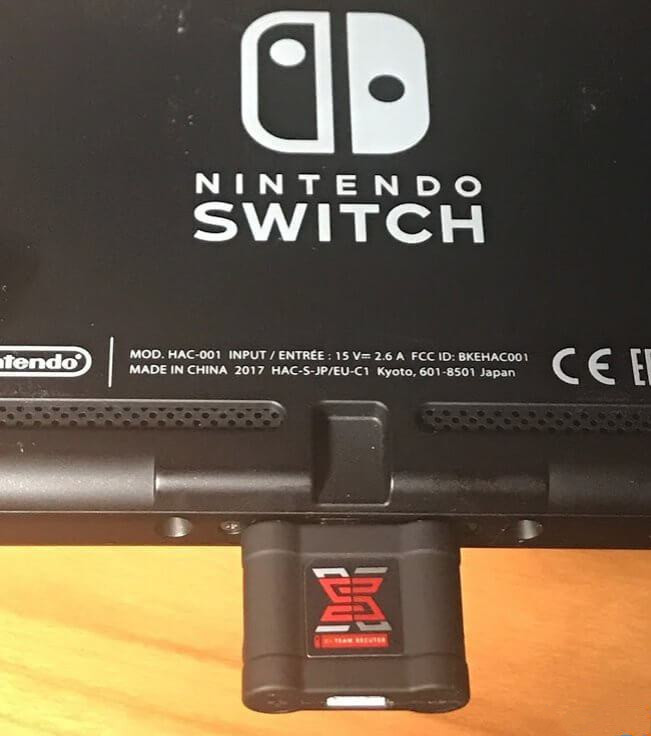
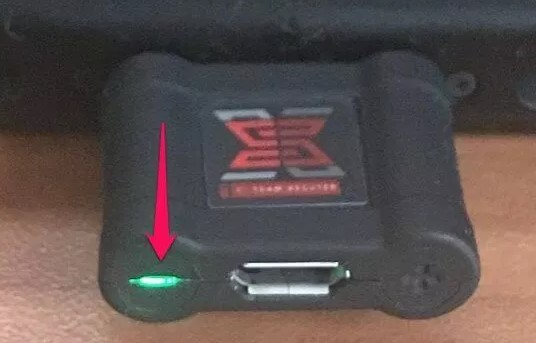
- SX Pro: Comes with the Dongle to inject the payload, RCM jig to get the switch in RCM mode, and a license for SX OS already loaded into the Dongle.
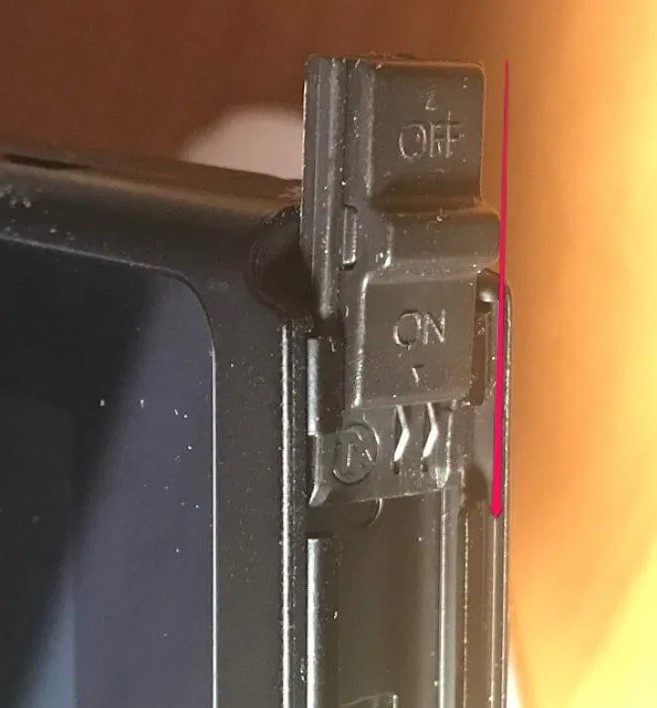
- SX Gear: Comes with the Dongle to inject the payload, and the RCM jig to get the switch in RCM mode.
- SX OS License: Just a license for SX OS.
- The SX Pro is the more expensive option of the three. However, its the more convenient option of the three. The injector is ready to go for the SX OS payload, a jig is provided for you so you don't need to make your own, and it comes pre-loaded with your very own SX OS license.
- The SX Gear is less expensive than the Pro because it does not come with an SX OS License. However, this option is great for those who want to use the gear and jig not only for SX OS but other custom firmware (CFW) as well. "Personally, SX OS is all the CFW you need"
- SX OS License is just a license to activate SX OS. Those who want to use SX OS with the SX Gear or those who want the awesome features of SX OS using other methods to inject the payload and put the Switch into RCM mode cab benefit from this option.
- SX Pro users - follow the manual located on the main site for easy setup instructions: (SX Xecuter Site)
- SX Gear users - follow the following post detailing what you will need to do: ([Guide] How to use the SX Gear)
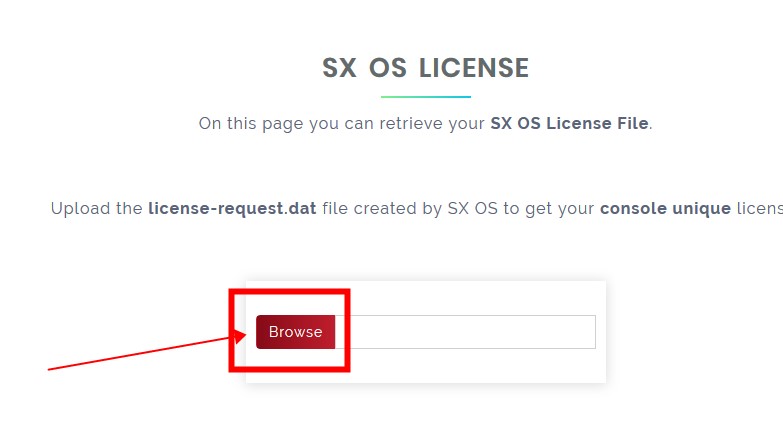
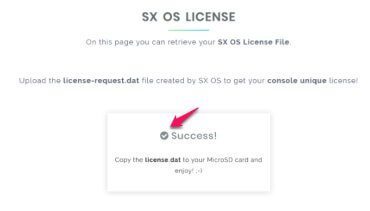
- SX OS License Users - follow the instructions located on the main site for easy setup instructions: (SX Xecuter Site)
It's very important to back up your NAND as your first step. Backing up your NAND will allow for you to restore your clean NAND to the state before you started modding. Also this will allow for you to downgrade your firmware versions as long as you have a backup for that version. More importantly, if your Switch somehow gets bricked, you will be thankful you have a backup to restore from. (Creating a NAND Backup)
5. Boot into Custom firmware and have fun!
Navigating Around SX OS
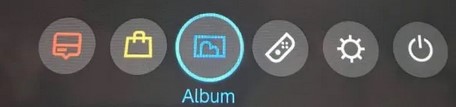
Once booted into the CFW and launching the Albums App, you will be presented with the following menu unique to SX OS.1. GAMES
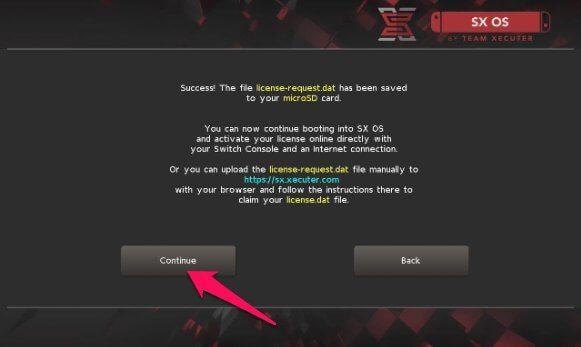
2. LICENSE
3. INSTALLER
4. HOMEBREW
5. OPTIONS
6. CHEAT
Let's jump right in!
GAMES: When you place an XCI switch game on your microSD card, it will show up here. This area is for you to mount the XCI game to your home screen as if you inserted the game cartridge yourself.

LICENSE: Once you validate your SX OS license that you purchased, it will show here that your license is valid.

INSTALLER: This section allows you to install any NSP versions of your games on your microSD card. Any update NSP files for your games that you placed on your microSD card will appear here as well and will allow you to install your updates through this menu.

HOMEBREW: If you have any homebrew applications on your microSD, they will appear here. This menu is a one-stop-shop for you to access your homebrew apps such as SX Dumper and SX Installer.

OPTIONS: This section has a lot of great features built right into SX OS. Here is a breakdown of the features in this section:
- FTP Server: When enabled, this will give you the IP Address of your switch with a port number to connect directly to your switch's microSD card from any FTP software. The great thing about this is you can transfer files to your switch without needing to power off, remove the microSD card, or load files from your computer via a MicroSD adapter.
- Pro Tip: Only enable when you plan on using this feature and disable afterwords. There is no username or password needed to connect to your device's microSD card.
- Stealth Mode: This is an awesome feature. What this does is it will block all connections to Nintendo's servers when enabled. Now don't assume this is a 100% fail-safe in not getting banned, this is intended to be an added layer of protection for you.
- Internet Local Wireless Play: With this option enabled and with an additional software called LAN-PLAY, you will be able to utilize local wireless play.
- Update SX OS: This allows you to update your SX OS version right from your switch! No need to download the update file from TX's website, and transfer to your microSD card. All you have to do is select Update SX OS and it will check for any release updates. If there is one available it will ask if you would like to install. Once installed it will let you know that the update will take effect once you reboot your switch and back into the CFW.

CHEAT: This area allows you to apply and handle all of your cheating needs when you want to have some more fun with your games.

Summary: This is a growing post, overtime changes will be made and new info will be added. Just follow Flashcarda.com. We can send the sx os out instantly. We just hope this helps our newcomers get started on their SX OS journey.