However, We must warn you about three things:
- You should only use this solution if you have the original games, so we will talk about backups of your games: "backups", we can not be responsible for non-compliant uses of this information.
- Then this tutorial will only work if you have the first switch, ie; only the switches that were manufactured before July 2018, because they have a flaw in their graphics card, which would be "hardware" and therefore not patchable by Nintendo ... that's why in July 2018 Nintendo has changed the graphics cards of their new Switch.
- As for any unplanned manipulation, there is a risk of ban Nintendo when not use their products as they wish, and of course there is also a risk of Brick console if you do not follow the tutorial step by step.
The requirements
1- Have or find a first generation Nintendo Switch
You will need to look at the serial number located under your SWITCH console or in case you leave on a search mission in video game stores before buying it; below the Switch box, you will find the serial number.Switch models compatible with SX PRO
Compatibility validated with serial numbers lower than:
- XAJ70043 XX
- XAJ40052 XX
- XAJ1003 XX
- XAJ700445 XX
- XAW100818 XX
- XAW100857 XX
- XAW7001 XX
- XAW70017 XX
- XAW1007 XX
Exemples :
Well !
Not good !

2, Buy Xecuter SX Pro or SX OS License
You can check the official site from Team Xecuter, For the Canada reseller, you can choose Flashcarda.com, the cheapest site, and they also have warehouse in USA and France, people can enjoy the local shipment.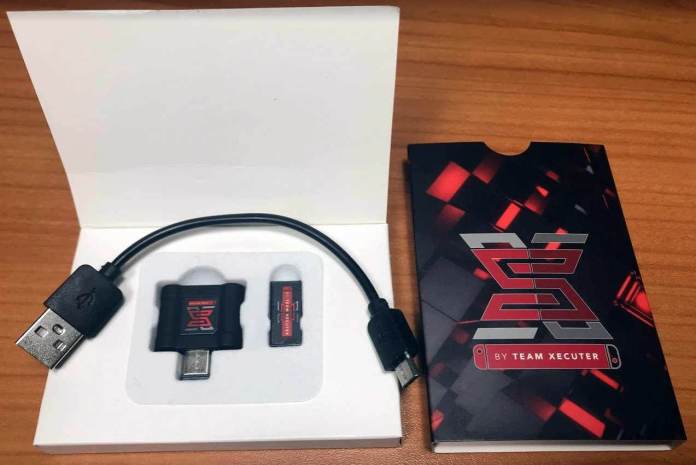
The official package therefore includes:
- A USB-C dongle that contains the CFW of the Team Xecuter
- Micro USB to USB cable for future dongle updates
- A JIG bar to slide into the right joycon slot of your Switch
- The SX OS license of the operating system pre-integrated in the firmware-compatible dongle up to 8.1.0 and future updates after update of the Xecuter team.
3- The best free sites to download games Switch Roms Homebrews
You will need to get the backups of your video games Switch on the canvas in XCI or NSP format, however I recommend the XCI format which is much easier to use in addition to being safer for your Switch SX PRO, you will go directly in the photo album where your backup Roms will be directly present.With the NSP files you will have to install tinfoil on your switch which will allow you to install the NSP on your switch.
Here you can buy pre-installed sd cards to play Nintendo Switch Games:
[TUTO] Xecuter SX Pro: Play .XCI and .NSP game rom
1. Update your Nintendo Switch to 8.1.0
WARNING: from this day on, you will not be able to update your online switch anymore, because otherwise you will upgrade to Version 9.0.0. However, the Xecuter team must study and release an update compatible with V9.0.0 on their SX software.After this date, it will be necessary to manually install the switch software in 8.1.0. Or simply leave your switch to its current version, so do not change anything ...
Note: for those who are in 9.0.0, it is possible to downgrade the Switch ...
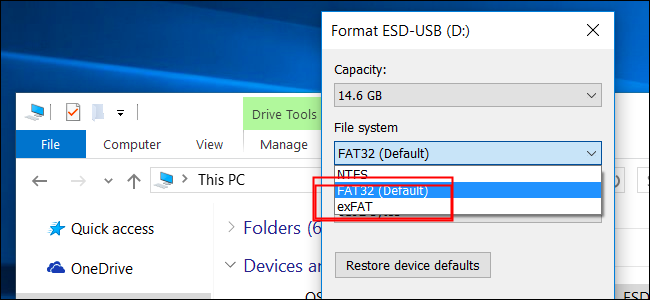
2- Format your micro SD card and / or your hard disk in your computer in exFAT
Put your micro SD card in your computer, then right click on "Format". Select "ExFAT", finally click on "start"Once your micro SD card formatted in ExFAT, copy your ROMS / Homebrews to its root. (Not in folders otherwise it will not work ...)
3- Download SX OS on your computer
Here is the Team Xecuter official site to download it.
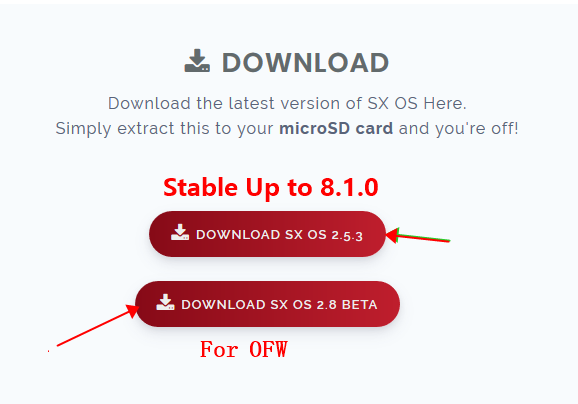
- Download their stable SX OS archive which is currently SX OS 2.5.3 for all the switches below the OFW 8 (If your Nintendo Switch is in OFW V8.xx download version 2.8 BETA, the stable version can be donwload on the official site)
- Unzip the file to your computer
- and put the Boot.dat file at the root of the Micro SD card.
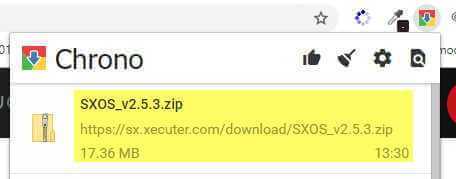
The SX software of the Xecuter team is now in your micro SD, for info, it is the Custom firmware CFW that will launch your backups of Switch.
- Insert the Micro SD into the Switch
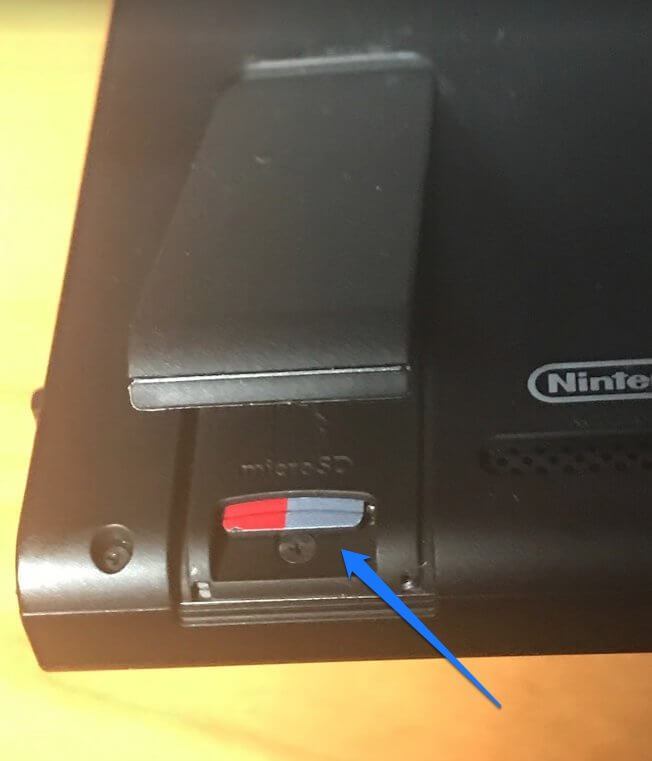
- Note: For brand new Switch consoles out of their box, or for those that have just been updated, it is possible that your Switch asks you to update to be able to read your micro SD card in ExFAT format, so do these updates.
- Put your console switch in airplane mode (without internet connection)
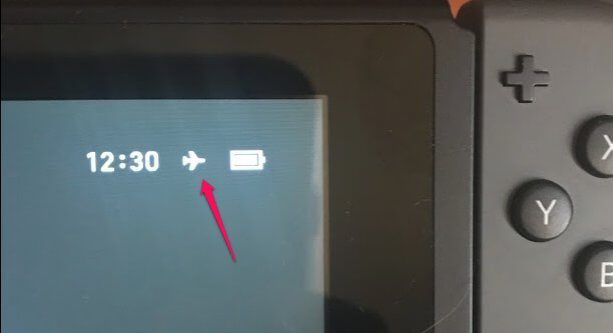
4- Check Xecuter SX Pro
Console completely off: press the "power button" for 5 seconds, then go to "power options" and select "power off"Connect the SX Pro USB Dongle to the USB-C port under the Switch console
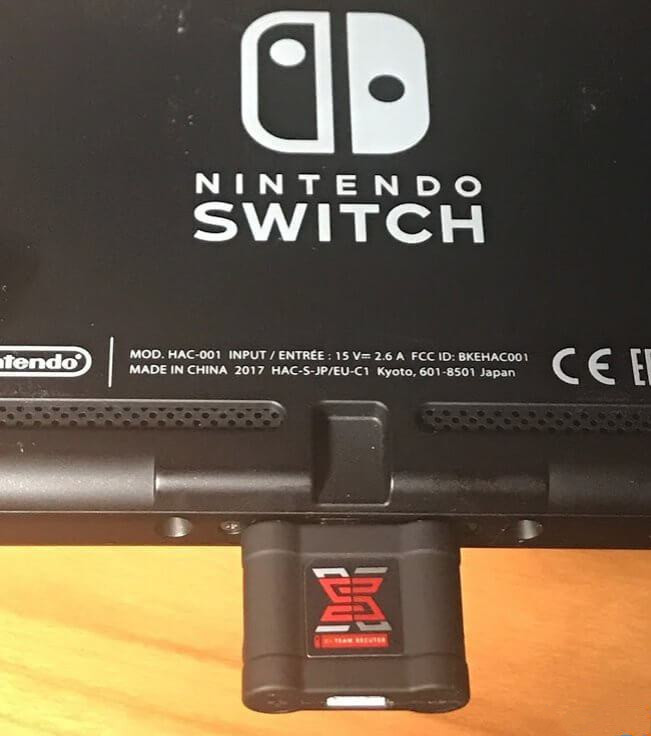
- Turn on the Switch console
- Look at the dongle from below, it should light green, it is functional!
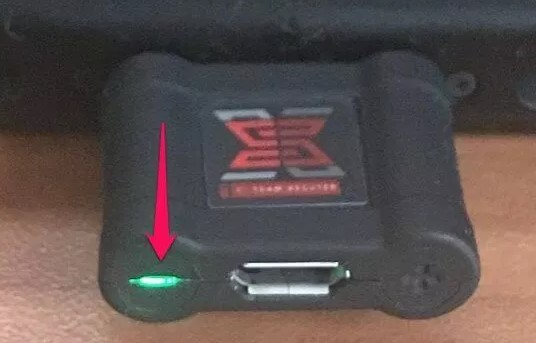
5- Now you can launch SX PRO on Nintendo SWITCH
- Turn off the switch completely
- Remove the right con
- Slide the SX PRO jig into the joycon slot on the "down" side until you hear a "click"
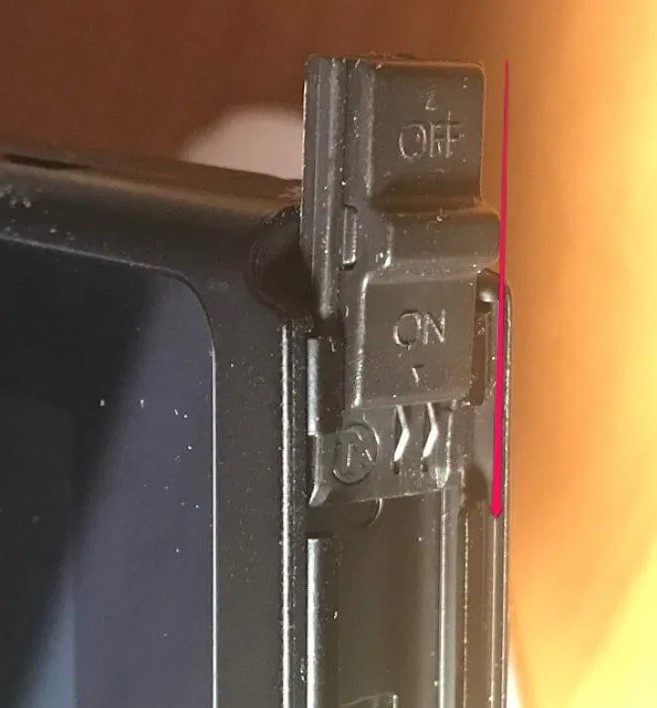
- press and hold the volume + button
- briefly press the "power" button and you will see SX PRO launch on your switch
- press with your finger on "boot custom FW"
- A window will ask you to continue to create a file "License-request.dat" on your micro SD
- Do "continue" on the first screen
- redo "continue" on the second screen
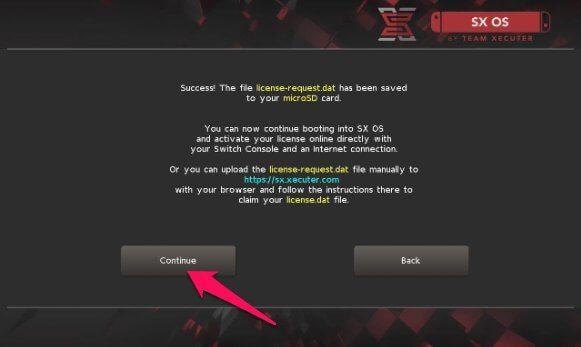
- the Switch will restart
- Stop the console completely
- remove the micro SD
- insert it into the card reader of your computer
- Go to the following link: validation license sx pro
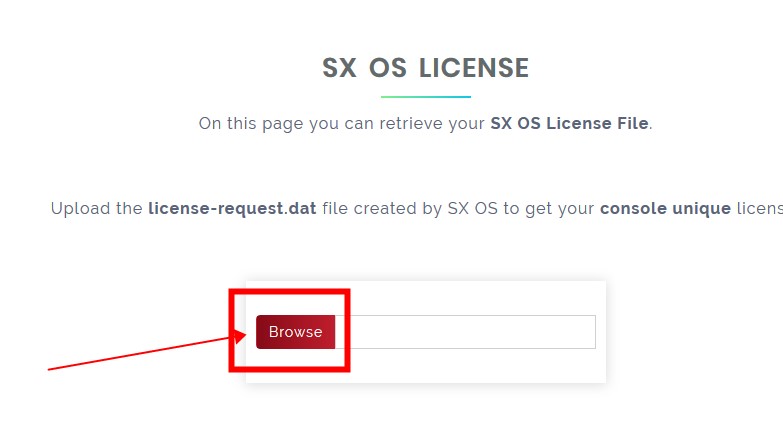
- click on "Browse"
- get your "License-request.dat" file on your Micro SD card
- A "License.dat" file will be created automatically by the site
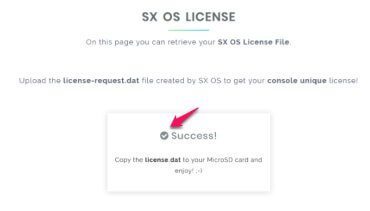
- Download it to your computer
- copy it to the root of your MicroSD card
- If you have a game backup in .XCI, drag in one at the root of the micro SD
- insert the micro SD into your Switch
- slide the JIG in the right direction (on the bottom) on the right edge of the Switch
- plug the SX PRO dongle under the switch
- hold the volume + button and press the Power button at the same time
- as soon as the SX window appears, let go of the buttons
- select the "Custom FW Boot".
- the Switch will restart
- remove the SX PRO dongle
- remove the JIG from the Switch
6, Test the Back Up
- On the Switch, go to the photo album

- you will see the game backup inserted just now
- select it and launch it
- The Switch will go to the home page and displaying your backup
- Launch it and test it!
- Everything works, ENJOY!
7- Put all your backups in your micro SD
- Finally, you will completely turn off your Switch.
- Remove the Micro SD and connect it to your computer to transfer to its root all your backups .XCI of Switch games that you have recovered on the sites mentioned above.
- Then put the micro SD back in the switch
- and start in CFW (jig + dongle + vol + and Power and select "Boot custom FW")
- ENJOY !
8, Update of backups
The games update is functional. But beware, no one can guarantee that Nintendo does not see what we do, the console can be ban Nintendo servers, again this information is only for online players.- Completely turn off your Switch console
- Remove the micro SD card and the SX PRO dongle
- Switching on the Switch does not start in OFW Official Firmware
- The main menu of the Switch show your backups
- Disable airplane mode
- Go to the game poster, and with the left Joycon, do - (minus) to go to the options
- And update the game (s)
- Return to airplane mode
- turn off the switch completely
- restart the CFW from SX PRO
- Enjoy !
9- Remarks and tips:
- As long as you stay in simple standby, no need to restart the hack sx pro (connection of the dongle, the jig and start vol + and Power button)
- If you fall out of battery or turn off the Switch completely, you will have to restart the hack (so, on the go, never separate from your SX pro kit)
- Do not remove the microSD from the Switch when the console is on or in standby, always turn it off completely before doing so to avoid damaging the data inside.
- Do not run the Auto-RCM mode option at the brick risk of the console.
- If for some reason your Switch is blocking, pressing the Power button for 15 seconds will force the console to stop
- If you have an error: Error 2168-0002 this is probably because you have mid NSP files at the root of your micro SD or hard drive
- It is recommended to dump the console to avoid any risk of brick.
- For people who play alone or at home with their friends, a ban will not block your console, but just the online game and the Eshop on Nintendo's servers.
- If you are afraid of being ban because you play online, do not connect to the internet with the Switch when you use your backups, always stay in airplane mode, but let Bluetooth and NFC activate.
- Use backups in XCI rather than NSP is safer
- There is no guarantee that Nintendo will not be able to get or see all your CFW and OFW uses on the SWITCH because there is a trace of the data stored in memory.

No comments:
Post a Comment