Super Mario Maker 2, can be pre-ordered
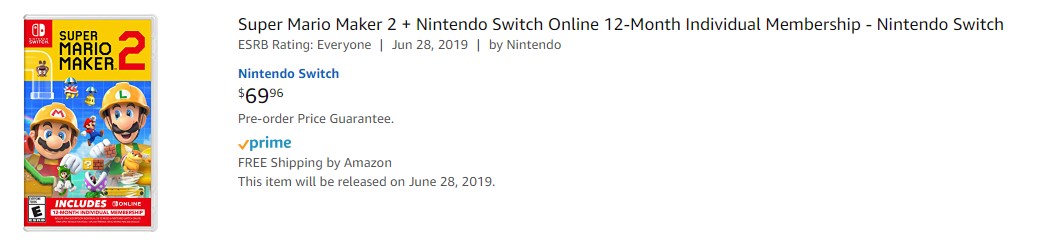
Super Mario Maker 2 now can be pre-ordered on Amazon, but it's too expensive to spend 70$ on the game. and now it really can free down on Nintendo Switch:
Super Mario Maker 2 is heading to Nintendo Switch on June 28. Can’t wait to play? You can Download Digital Super Mario Maker 2 first from Nintendo eShop on your Nintendo Switch system, or via its official page.
Currently, it's a pre-order, so you just preload ahead of release, and the game’s data will be downloaded to your Nintendo Switch automatically. Then, at midnight on June 28th, 2019, the game will unlock so you can jump in without delay!
If you've gone the digital route this generation, you'll be relieved to hear Super Mario Maker 2 won't take up too much space on your Switch when it arrives next month. With the pre-purchase now live, it's been confirmed the file size is a total of 2.8GB.
For the time being, Switch Super Mario Maker 2 Free Download isn't on the Site, but after game releasing formally, many online Roms Sites will offer the Super Mario Maker 2 .XCI or .NSP files, those roms can be downloaded to your Switch SD Card, then insert the sd card back, you can play free Super Mario Maker 2 freely on the Switch.
How to play Super Mario Maker 2 for free on Nintendo Switch?
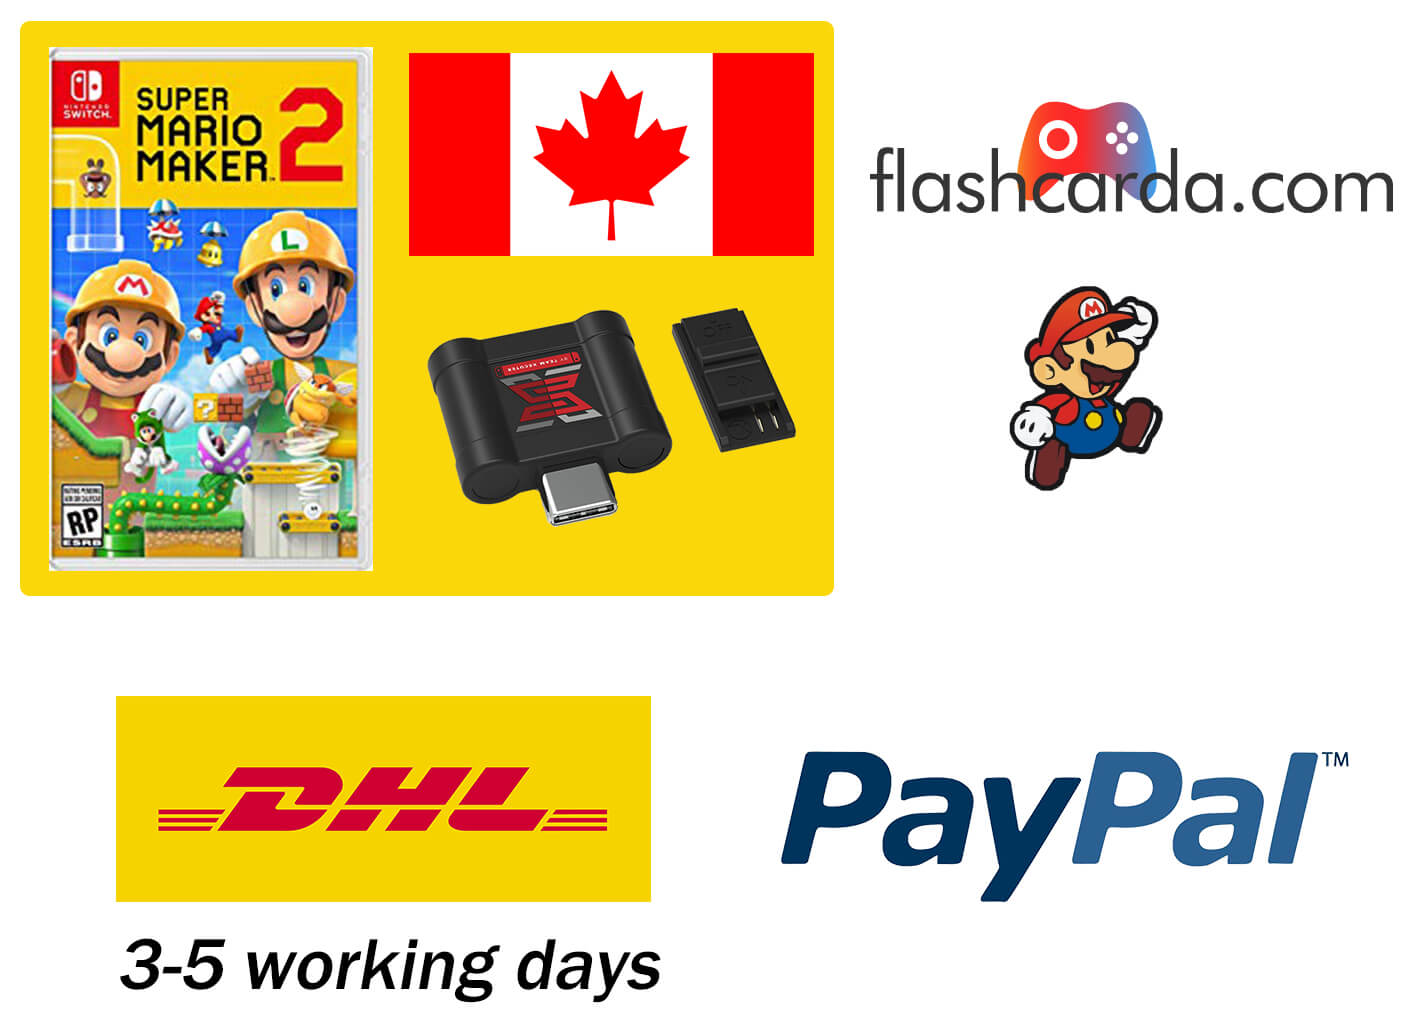
As a very hot game, I think all fans of Nintendo would not want to miss it. But if you do not have too much budget, is it possible to play him for free? Yes of course. Xecuter SX Pro or SX OS can help you achieve that. For now, the product of "SX Family" can offer us the best solution to crack Nintendo Switch. Xecuter SX Pro is an ultimate product that has a powerful ability to allow you to play free games on your Nintendo Switch. The first SX Pro product is equipped not only with a program to hack the Switch, including essential tools to help you operate more easily throughout the installation process. It consists of a USB dongle, an RCM JIG module, and an OS software license.
SX OS is a most important part, it is a key to activate the license of a CFW of SX OS. After you have successfully installed this CFW on Nintendo Switch, you can easily run the free games and also enjoy the applications of homebrew. Plus, with the relentless update by Team Xecuter, I think you can enjoy more and more creative functions.
And Steps are easy to hack Super Mario Maker 2 on Switch:
- Before hacking, please Check your serial number at first in is myswitchpatched.com, be sure your switch can be hacked.
- Buy Switch Dongle-Xecuter SX Pro from an official seller like Flashcarda.com.
- Download Necessary documents( boot.dat and license-requires.dat)to your SD card, and formatted it.
- With following the official guide in SX.XECUTER.COM to activate SX OS License.
- Download the Super Mario Maker 2 game rom from rom site, such as:Coolrom.com, 3ds-paradise.com. If you don't find it, ask me here.
- Use the SX OS PRO to enjoy the Super Mario Maker 2 on Nintendo Switch For Free.
Summary: If you are interested in playing free Super Mario Maker 2, I will recommend you choose our site, the Cheapest and official site to buy Xecuter SX Pro in Canada, We support Visa, PayPal, and other credit card payment. Regardless of the shipping method you choose, we promise that your order will be shipped within 24 hours (except weekends) and we will also provide you with tracking numbers. And we will provide free gift for customers, if you want, please contact admin@flashcarda.com


